Note
You can find an example of a simple WebSocket server at https://github.com/dpallot/simple-websocket-server.
You can find an example of a simple WebSocket server at https://github.com/dpallot/simple-websocket-server.
April 15, 2019
Author: Jaeduck Oh
There are many ways that web apps can use to communicate with the system or other apps. Among those, this article describes how to set up communication using WebSocket.
Before you begin, check the Wikipedia page for the WebSocket protocol at https://en.wikipedia.org/wiki/WebSocket if you’re not familiar with WebSocket.
The first step is to create a WebSocket server.
You will need:
Host PC: Any PC with Python works fine, but this article is based on Linux.
Python 3.x (This article is tested on Python 3.5.3)
Download and install a server module using PIP.
yourLinux/websocket_server_python$ pip install SimpleWebSocketServer
Create a file named echo_server.py and add lines of code as in the following.
yourLinux/websocket_server_python$ vi echo_server.py
| echo_server.py | ||
|---|---|---|
|
Line 5-6: When a message is received from a WebSocket client, the self object of the handleMessage function receives the data.
Well then, what does json.dumps do?
Our WebSocket client sends JSON-format strings to the server, and the server stores them in a python object. Therefore, it is necessary to convert that object back into the JSON-format data to use the data in a server program. That is what json.dumps does, converting a python object into a JSON string. By the way, requestString is not going to be used in this example.
Line 7-8: The WebSocket server creates a string in the JSON format and puts it into responseString. When a message is received from the WebSocket client, the server calls sendMessage and returns it.
Type the following command to run the server.
yourLinux/websocket_server_python$ python echo_server.py
That was how to create and run a WebSocket server in the host PC. There will be another article on how to create a WebSocket server with an ESP32 module and set up communication with sensors.
Now that there is a server running, let’s create a WebSocket client.
You will need:
CLI, Command-Line Interface, is a tool that allows you to create projects, package apps, and more by entering commands. In this article, we will use a basic web app project provided by CLI instead of creating a blank project from scratch.
ares-generate command.app id: com.sample.websocket
title: websocket sample
version: 1.0.0
yourLinux$ ares-generate -t basic com.sample.websocket
? app id (com.domian.app) com.sample.websocket
? title (new app) websocket sample
? version (0.0.1) 1.0.0 Generating basic in yourLinux/com.sample.websocket
Success
yourLinux$ cd com.sample.websocket
Delete the existing index.html file in the directory and create a new index.html.
yourLinux/com.sample.websocket$ rm index.html
yourLinux/com.sample.websocket$ vi index.html
Add the following lines of code in index.html and save.
| index.html | ||
|---|---|---|
|
Create a CSS file named websocket.css and add lines of code as in the following to configure the style of you app.
yourLinux/com.sample.websocket$ vi websocket.css
| websocket.css |
|---|
|
The background color will be very dark gray, mostly black, and the text color will be white.
Now let’s get to the actual WebSocket client. Create a JS file named websocket.js and add lines of code as in the following.
yourLinux/com.sample.websocket$ vi websocket.js
| websocket.js | ||
|---|---|---|
|
Line 2: Specify the IP address of the WebSocket server
Line 5: Get the element with the ID, ‘output’, and put it in variable output. Run testWebSocket() in the next line.
Line 13: Create a WebSocket object, websocket, with the IP Address of the server
Line 14-17: Add event functions
Line 20-24: When the websocket opens, output “CONNECTED” on the screen and run doSend()
Line 26-29: When the websocket closes, output “DISCONNECTED” on the screen
Line 31-37: When a message is received from the server, parse it into the JSON format and output device_id and result on the screen
Line 39-42: This part is to handle errors. It writes error messages on the screen.
Line 44-54: Send a message to the WebSocket server. The message is formed in the JSON format and then converted into strings before being sent.
Line 56-61: Output messages on the screen
Line 66: Add an event listener. Run the init function when the page is loaded
Now try opening index.html with Chrome. Before doing that, make sure that the server is running.
You will see something like this.
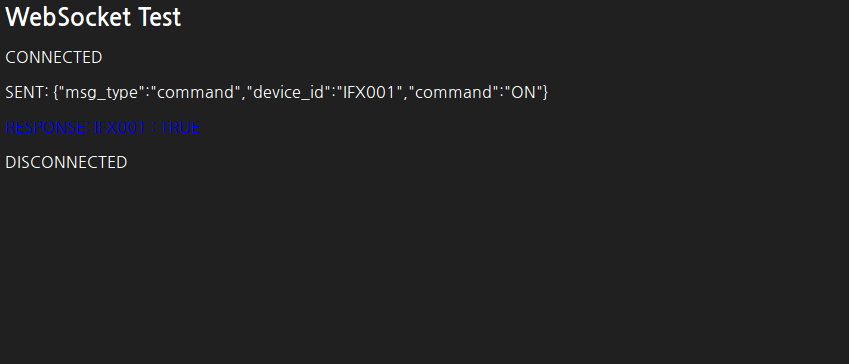
WebSocket test screen
Here you can see the result outputted on the screen, which is sent from the WebSocket Server.
We checked the result on the web browser. Now, let’s try displaying notification messages on the webOS screen. webOS provides Luna Service API for notification that writes messages on the top right corner.
Open websocket.js and write lines of code for notification.
yourLinux/com.sample.websocket$ vi websocket.js
| websocket.js | ||
|---|---|---|
|
showNotification function for notificationshowNotification functiondevice_id is “IFX001”, variable device gets the string “Light”result is “TRUE”, variable status gets the string “ON”createToast method and passes sourceId and message to display as parameters.That’s it for coding, and you’re ready to package and install the app on your device.
You have developed a webOS app that uses WebSocket communication. Now let’s see how it works in webOS. You will use CLI to package, install, and launch your app.
You will need:
Before installing a web app on webOS, you first need to package it as .ipk using the ares-package command.
yourLinux/com.sample.websocket$ ares-package .
Progressing...
Creating package com.sample.websocket_1.0.0_all.ipk in yourLinux/com.sample.websocket
Success
If the packaging is successful, you can find com.sample.websocket_1.0.0_all.ipk in the same directory.
To install an app on Raspberry Pi, the device must be registered to CLI. Use the ares-setup-device command to do that.
For details about device registration, see ares-setup-device.
We will now install the packaged app using the ares-install command with your device name and package name as parameters.
yourLinux/com.sample.websocket$ ares-install -d <your device name> com.sample.websocket_1.0.0_all.ipk
Installing package com.sample.websocket_1.0.0_all.ipk
Success
If the installation is successful, the screen will look like this.
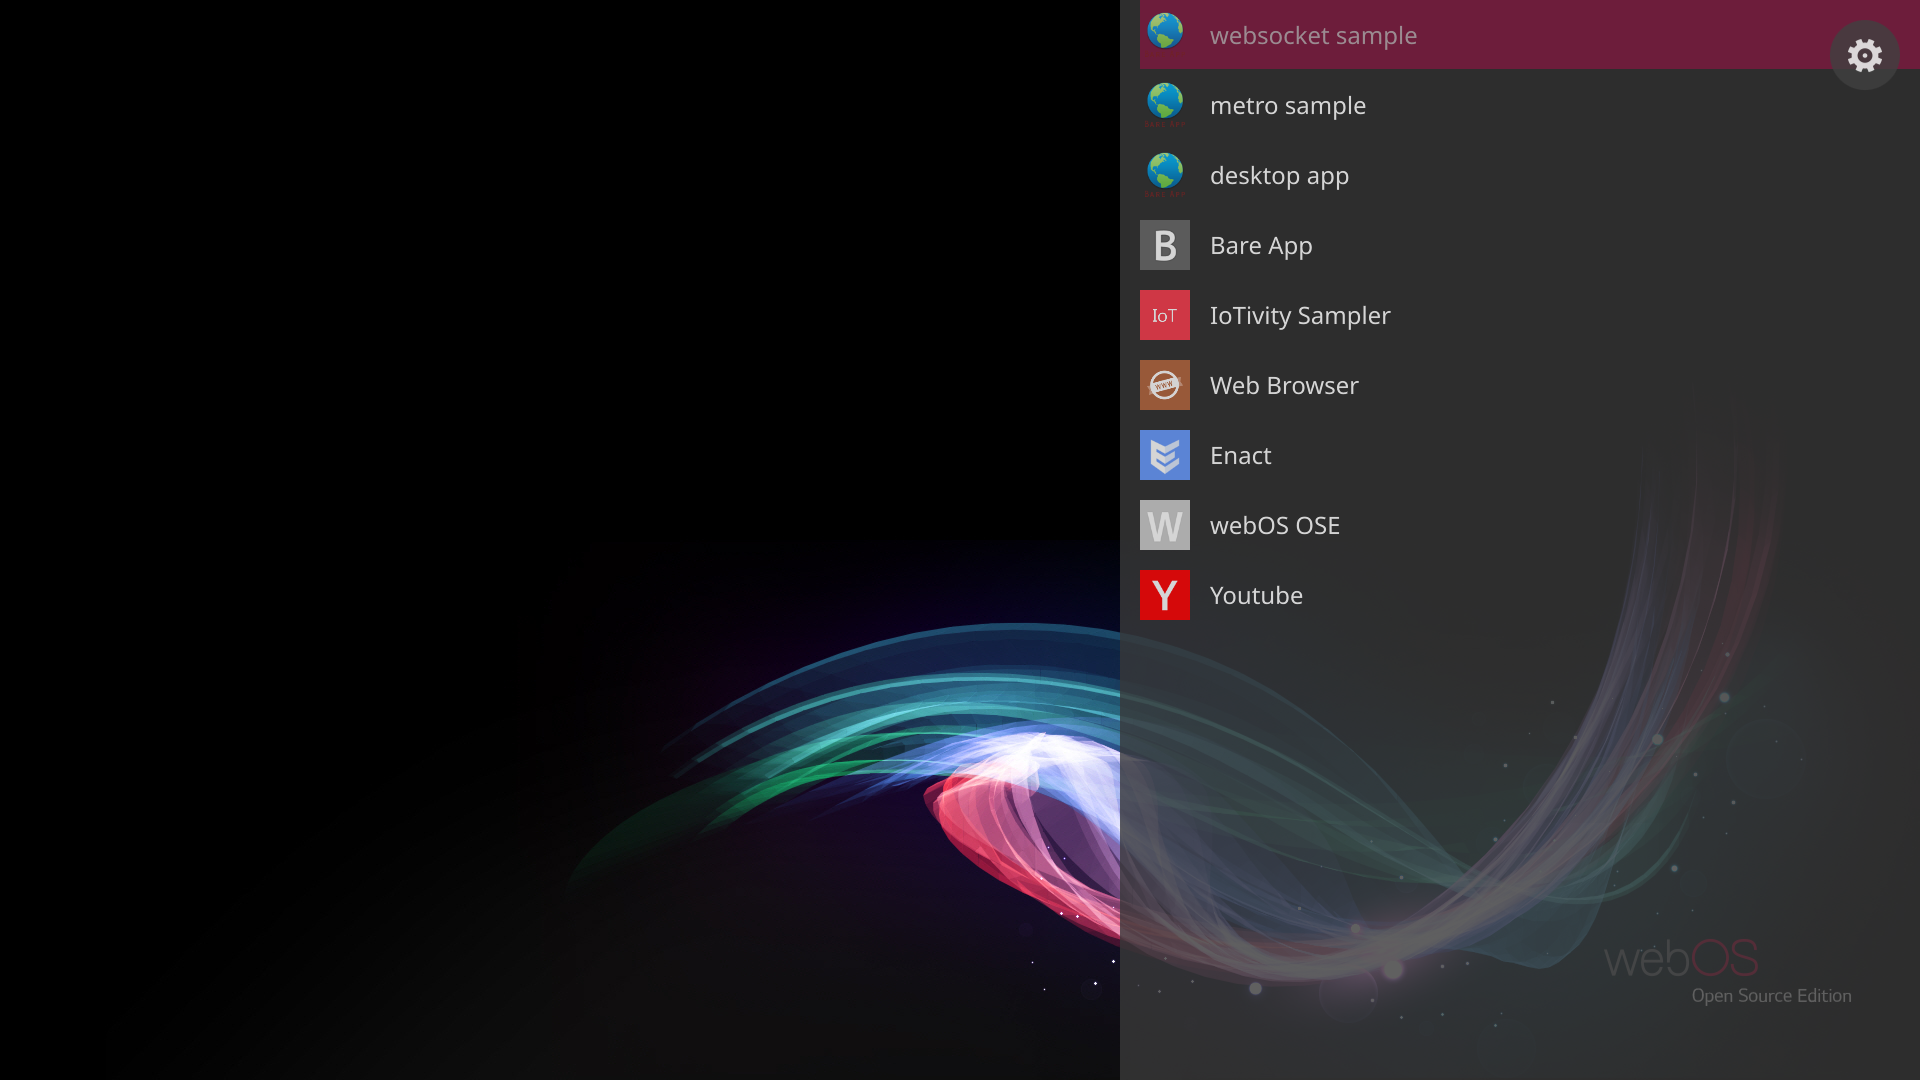
Launcher showing the installed WebSocket sample app
As the app is successfully installed, let’s launch the app. The command is ares-launch.
yourLinux/com.sample.websocket$ ares-launch -d rpi com.sample.websocket
Launched application com.sample.websocket
After the launch is successfully done, you will see the screen like this.
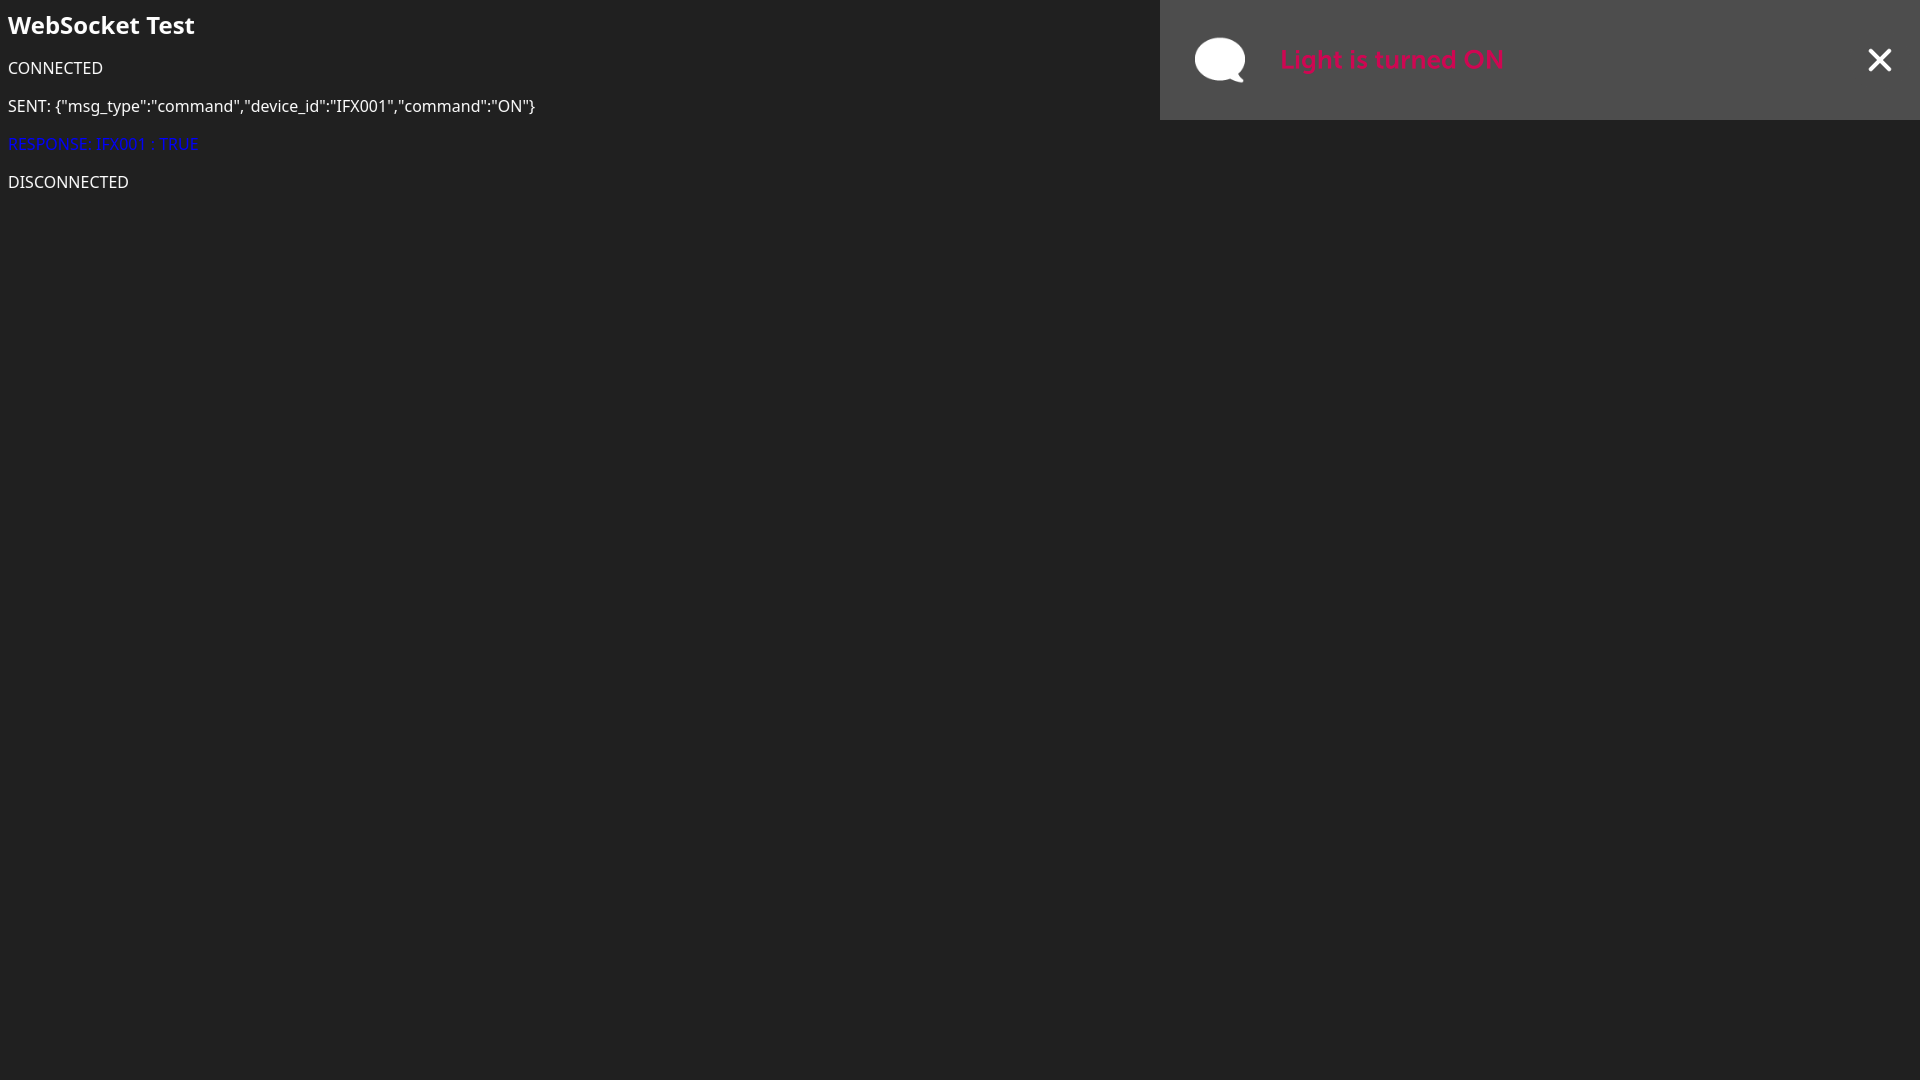
WebSocket sample app launched
So far, you have seen how to set up and use WebSocket communication in a web app on webOS. Now it is up to you how to define messages between the server and the client for efficient communication.
The next article will be about how webOS controls external sensors through WebSocket communication by installing the WebSocket server on the ESP32 module.
Contents