Note
If you cannot afford to build the image on your own, try with pre-built images.
If you cannot afford to build the image on your own, try with pre-built images.
This page provides details for flashing the webOS Open Source Edition (OSE) image to a microSD card. In addition, this page describes how to verify the flashed image on the target device.
Make sure you have completed the following:
Build the webOS OSE image on a Linux machine. For more information, see Building webOS OSE. To flash the image from Windows or macOS, you must copy the built image from the Linux machine.
Unzip the image file. The webOS OSE image files have the .wic extension. Ensure that the extension is correct after unzipping the file.
Insert a microSD card in the microSD card reader device connected to the host machine.
Make sure that your microSD card has a single partition. If the microSD has multiple partitions, the webOS image might not flash correctly onto it. To resolve this issue, this section describes how to delete all existing partitions on a microSD card for each host operating system.
Run diskpart in terminal.
C:\Users\admin>diskpart

Microsoft DiskPart version 10.0.19041.964

Copyright (C) Microsoft Corporation.
On computer: WMRRD11-NC103BJ

DISKPART> # You can verify that you have entered DISKPART
Type list disk to find out the disk number of your microSD card, then type select disk <N>.
DISKPART> list disk

  Disk ###  Status         Size     Free     Dyn  Gpt
  --------  -------------  -------  -------  ---  ---
  Disk 0    Online          238 GB      0 B        *
  Disk 1    Online           29 GB  3072 KB

DISKPART> select disk 1

Disk 1 is now the selected disk.
Execute clean.
DISKPART> clean

DiskPart succeeded in cleaning the disk.
First, check the device name of the microSD card using the following command.
$ lsblk
For example, the device name could be displayed as follows:
sda           8:0    1  29.7G  0 disk
├─sda1        8:1    1  72.7M  0 part
└─sda2        8:2    1   3.5G  0 part
Here, sd<x> denotes the device name, where <x> is an alphabet suffix such as sda. The <N> following sd<x> represents the partition number such as sda1.
Unmount the device to ensure a safe operation.
$ sudo umount /dev/sd<xN>
Enter fdisk.
$ sudo fdisk /dev/sd<x>
To delete a partition, type d and enter the partition number to be deleted. Repeat this process to delete all existing partitions.
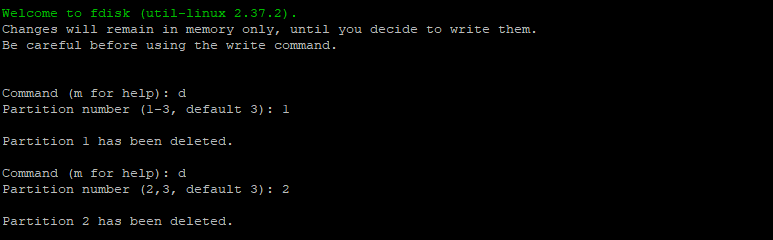
Type w to save the changes.
First, check the disk name using the following command:
$ diskutil list
Delete each partition using the following command. Repeat this process to delete all existing partitions.
$ sudo diskutil eraseVolume free %noformat% /dev/disk<NxM>
Here, the disk name is represented as disk<N>, and the partition name is represented as disk<NxM>.
N is a numeric suffix.x is an alphabetical suffix, and M is a numeric suffix.This section describes how to flash the webOS OSE image to a microSD card, for each host operating system.
Flash the image using Win32DiskImager.
Check the device name of the microSD card using the following command. Refer to the Preparing a microSD Card section for an explanation of the device name denotation.
$ lsblk
To flash the image to the microSD card, run the following commands.
$ sudo umount /dev/sd<xN>
$ sudo dd bs=4M if=<path to the webOS OSE image file> of=/dev/sd<x>
$ sudo umount /dev/sd<xN>
For dd command, you must pass sd<x> (without the suffix number) to the of operand. sd<x> indicates the mass storage device, not the partition.
$ sudo umount /dev/sdb1
$ sudo dd bs=4M if=./webos-image-raspberrypi4.rootfs.wic of=/dev/sdb
$ sudo umount /dev/sdb1
Check the device name of the microSD card using the following command. Refer to the Preparing a microSD Card section for an explanation of the device name denotation.
$ diskutil list
To flash the image to the microSD card, run the following commands.
$ sudo diskutil umountDisk /dev/disk<N>
$ sudo dd bs=4m if=<path to the webOS OSE image file> of=/dev/disk<N>
$ sudo diskutil umountDisk /dev/disk<N>
For dd command, you must pass disk<N> to the of operand to speed up the copying process.
$ sudo diskutil umountDisk /dev/disk2
$ sudo dd bs=4m if=./webos-image-raspberrypi4.rootfs.wic of=/dev/disk2
$ sudo diskutil umountDisk /dev/disk2
After you finish flashing the webOS OSE image to the microSD card, you can check how it works by taking the following steps:
First, eject the microSD card from the reader device and insert it in the target device.
Connect the target device with peripheral devices.
For webOS OSE 2.0.0 or Higher
For webOS OSE 1.x
Set the input mode of the touchscreen (or monitor) to the port connected with the target device.
Plug the power cable into the target device. The target device will boot up. Wait until the start-up screen with webOS OSE logo appears on the screen.
Start the webOS OSE App Bar or Home Launcher.
For webOS OSE 2.19.0 or Higher
After starting up the target device, you will see the App Bar popping up from the bottom side of the screen. App Bar should contain a list of pre-installed apps, as shown in the figure below.
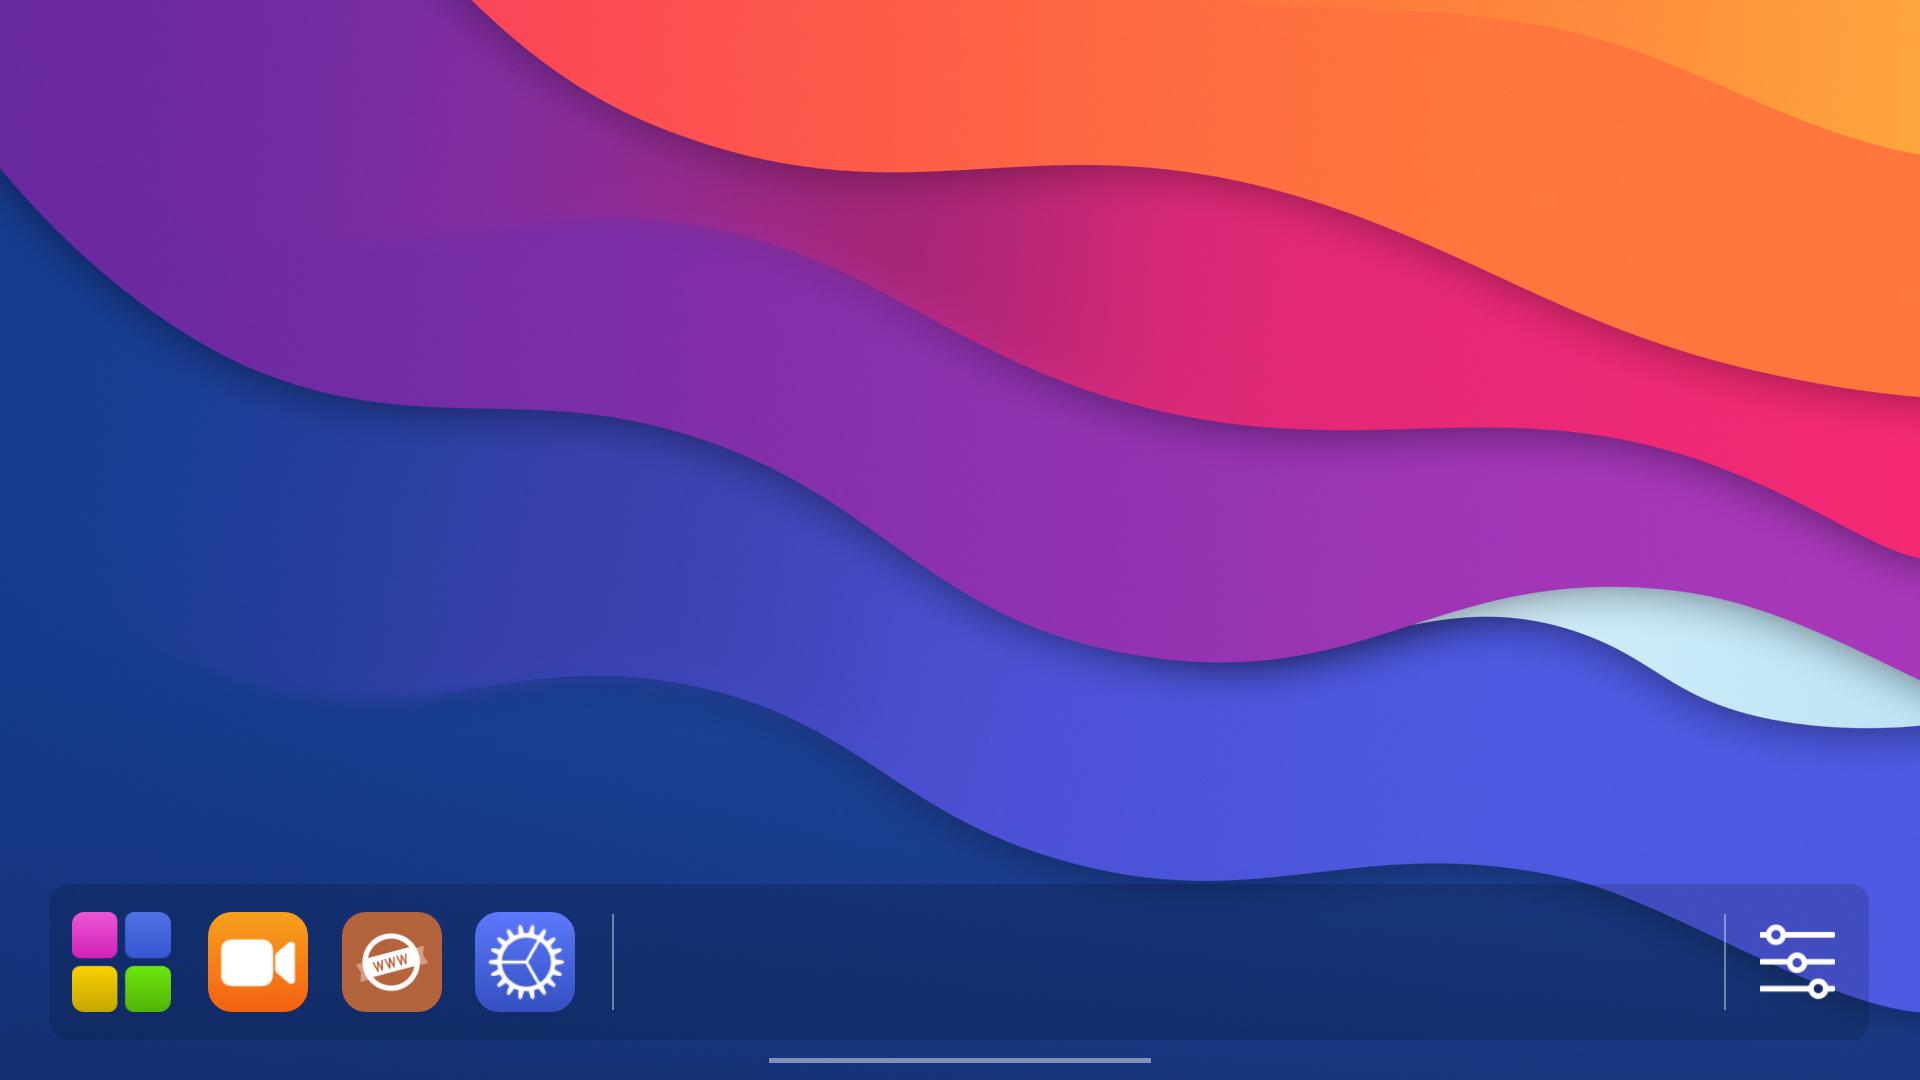
For more details on how to use webOS OSE UI, see webOS OSE UI Guide.
For webOS OSE 2.0.0 ~ 2.18.0
After starting up the target device, you will see the Home Launcher UI popping up from the bottom side of the screen. Home Launcher should contain a list of pre-installed apps and icons for quick access menu, as shown in the figure below.
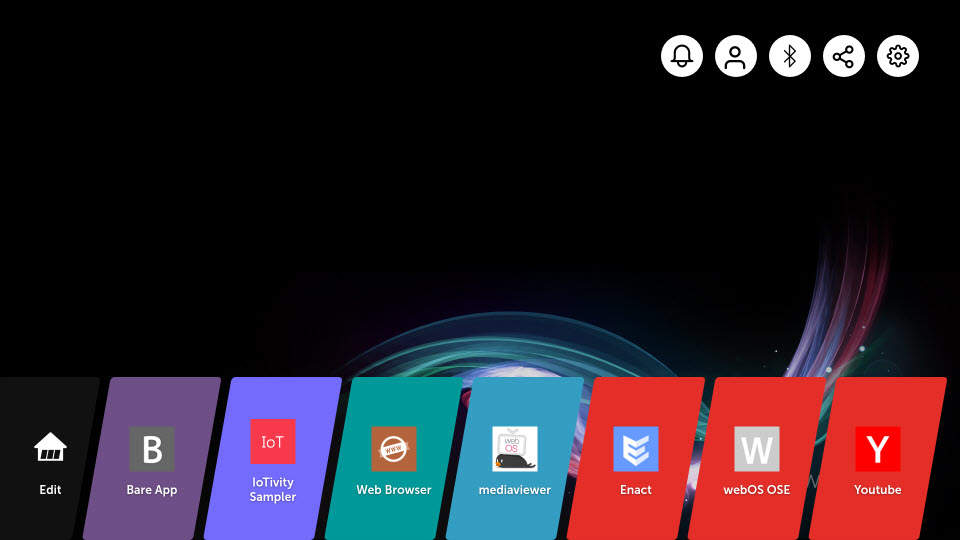
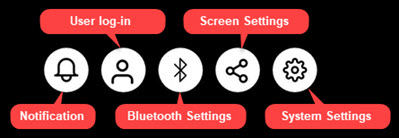
The names of quick access menu icons are as shown below. Currently, only the icon for System Settings app is working. The others will be implemented in a future release.
If you want to close the Home Launcher, tap the outside of the Home Launcher. Swiping up from the bottom of the screen will show the Home Launcher again.
For webOS OSE 1.x
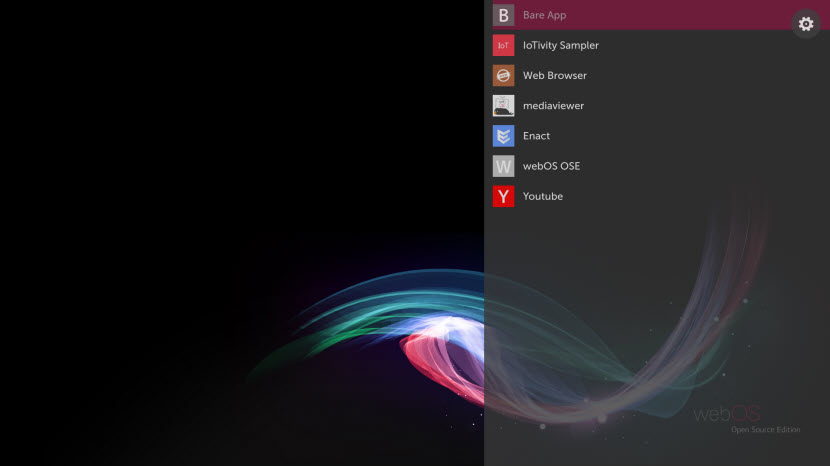
Press the Windows key (Linux, Windows) or the right command key (macOS) on your keyboard, and you will see the Home Launcher UI popping up from the right side of the screen. Home Launcher should contain a list of pre-installed apps and an icon for Settings app, as shown in the figure below.
Contents