Note
The following guide refers to Configure a Developer Project and Account Settings guide.
The following guide refers to Configure a Developer Project and Account Settings guide.
For the voice AI logic to work on your app or service, you need to set up Google Assistant on your device.
Create a Google account.
Go to the Actions Console and perform the following steps:
Click New Project.
Accept the Terms of Service and click AGREE AND CONTINUE.
Type a name of your project and click Create project.
You just created a new Actions Console project. For your convenience, keep this page open and go to the next step. We will register a device in Registering the Device Model.
Go to the Google APIs.
Accept the terms of service and click Agree and Continue.
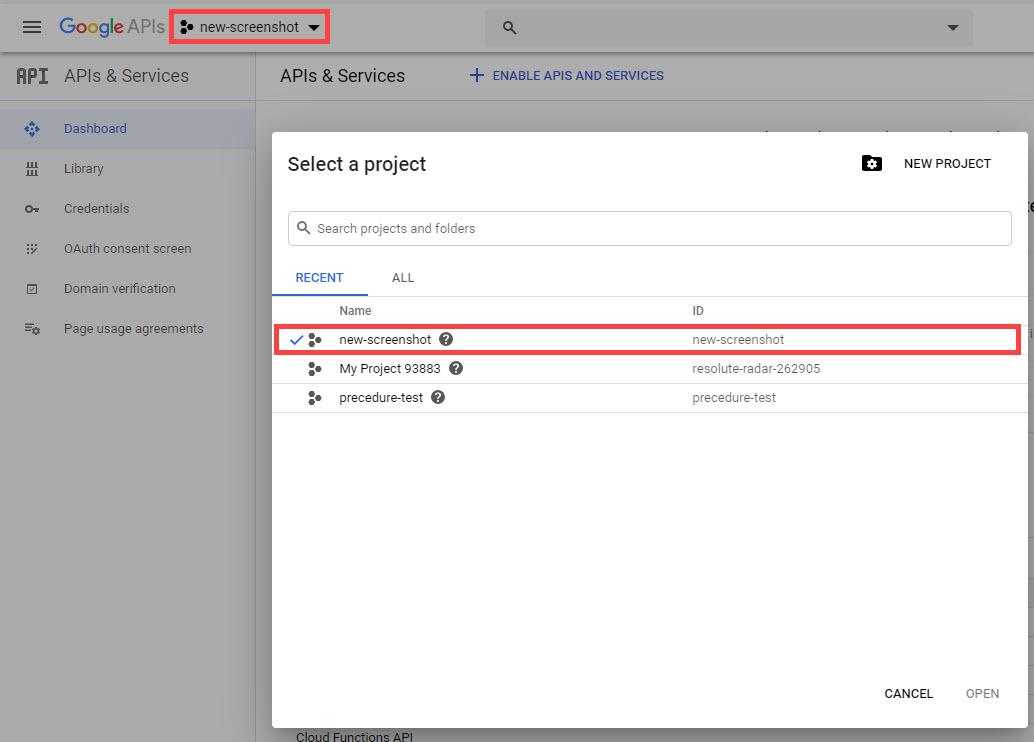
Select the project that you made in the previous step and click OPEN.
Click ENABLE APIS AND SERVICES.
Type ‘Google Assistant API’ in the search box and click the result.
Click ENABLE.
If the API is set correctly, a dashboard of Google Assistant API will show up.
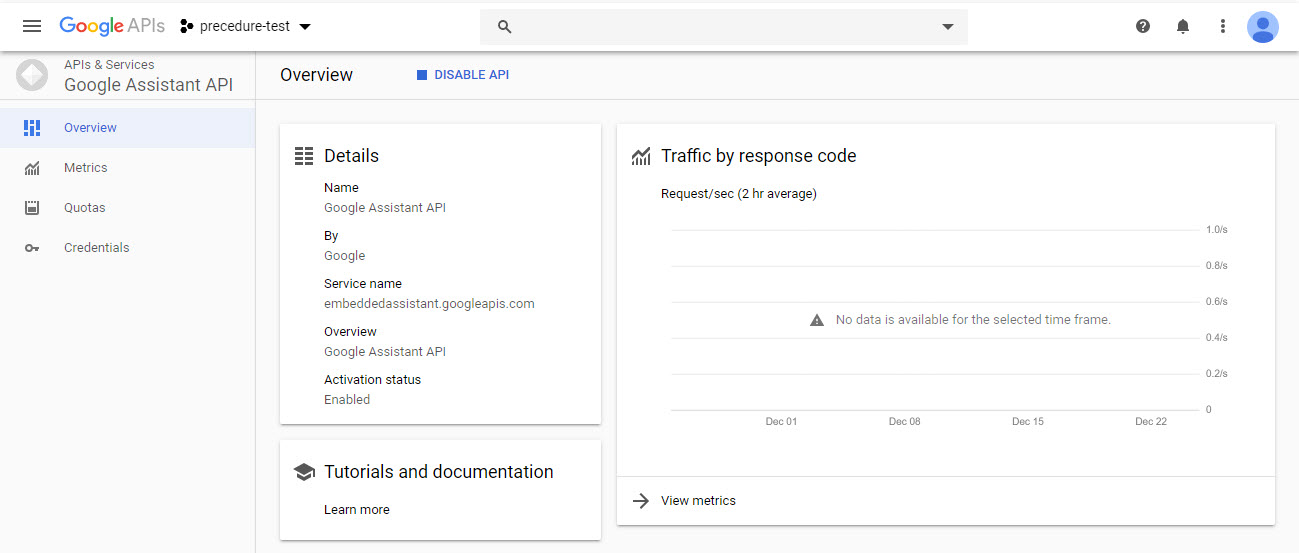
A dashboard of Google Assistant API
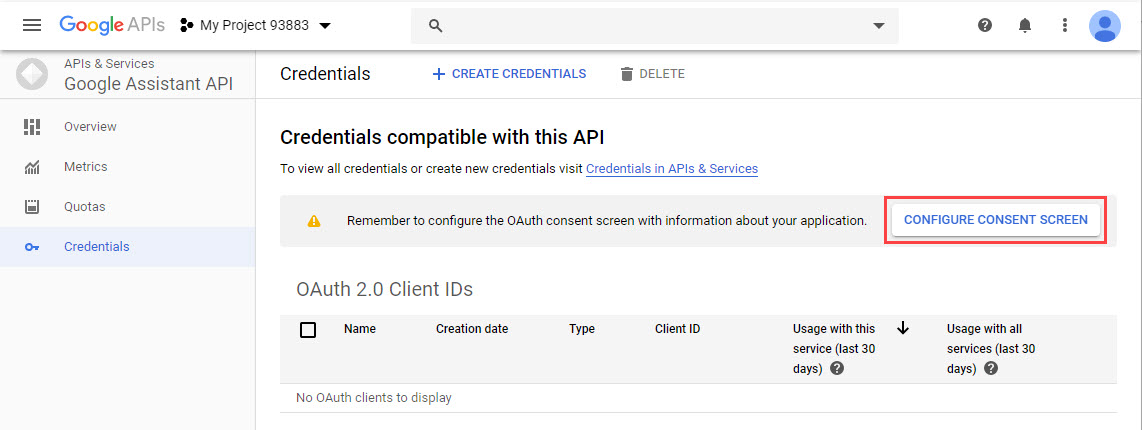
Now it’s time to configure consent screen. In the Google Assistant API dashboard, do the following:
Click Credentials menu on the left.
Click CONFIGURE CONSENT SCREEN to go to OAuth consent screen menu.
Set External for the User Type and click CREATE.
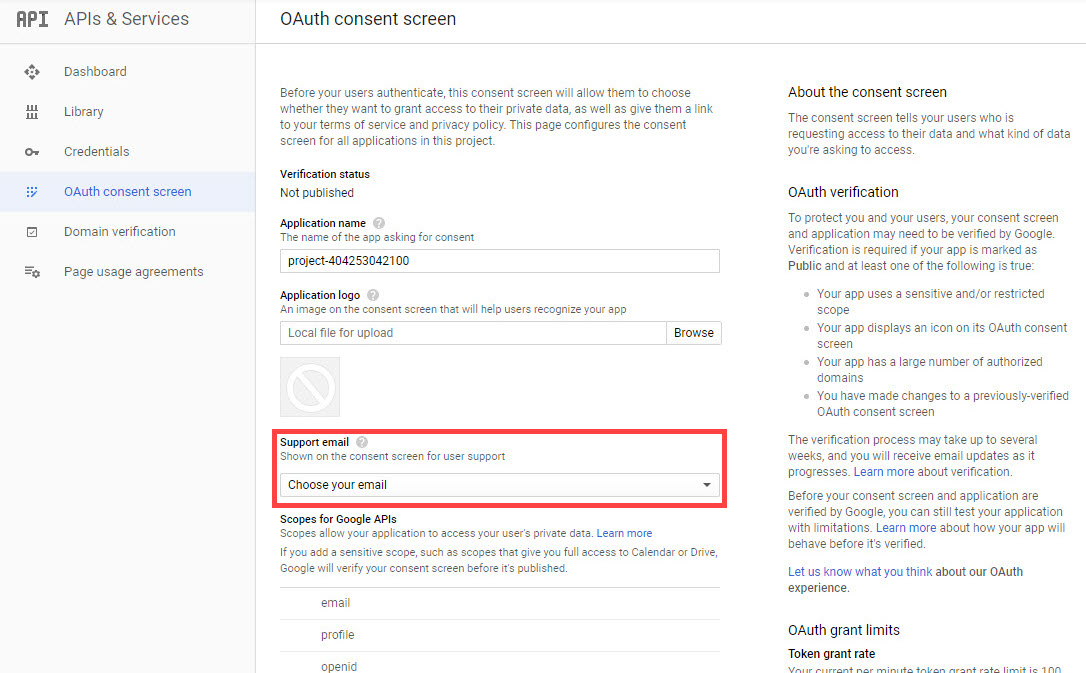
Set the Support email and click Save. You can choose the email using the dropdown menu.
To use Google Assistant API, you have to share the Activity Controls data with Google.
Go to Activity controls page.
In the Web & App Activity box, make sure the following checkboxes are selected:
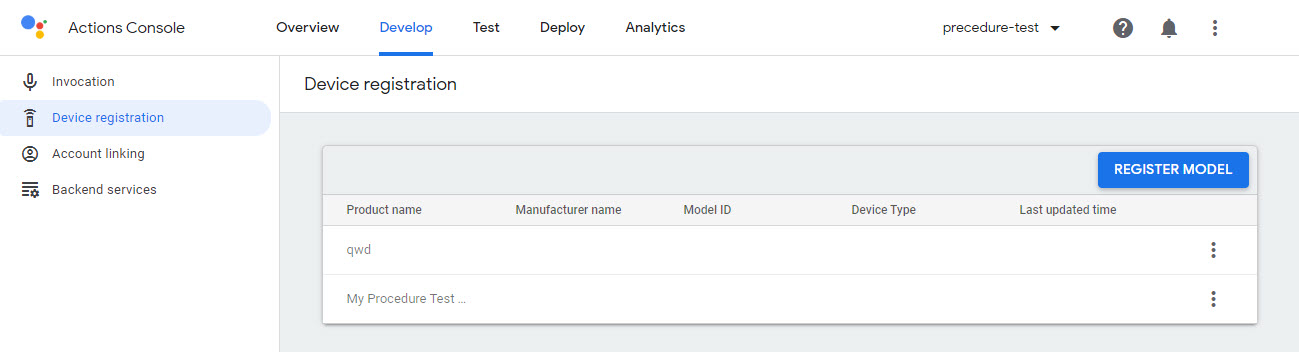
To register the device model, you have to go back to the page which you opened in Creating a New Project.
Click Device registration menu at the bottom.
Click REGISTER MODEL.
Fill out the blanks and click REGISTER MODEL.
Click Download OAuth 2.0 credentials. A client secret file (in JSON format) will be downloaded. This JSON file will be used in Register the Device ID. Click Next.
(Optional) Click the trait checkbox that you want and click SAVE TRAITS. To skip this step, click SKIP.
You can see the registered device information in Device registration menu.
It’s time to set up your target device. Before you start it, make sure the following have been completed:
Get a credentials file using the downloaded client secret file (in JSON format).
Move the client secret file from local PC to your target device:
$ scp <downloaded client secret file> root@<your target device IP>:/etc/googleAssistant/client_secret.json
From the target device, run the following script:
$ cd /etc/googleAssistant
$ ./get_credentials.sh
Copy the URL in the terminal and paste it to your browser.
Allow the permissions.
Copy the sign-in code and paste it to your terminal. It will create the credentials.json file.
Now you register an ID for device model that you created in Registering the Device Model.
Open device_id.json file.
$ cd /etc/googleAssistant
$ vi ./device_id.json
Modify the fields:
id : Input the device instance string. Typically, my_webos.model_id : Input the device model ID registered in Registering the Device Model.Register the device using the command:
$ ./register_device_id.sh
Enter the command:
$ vi /etc/systemd/system.conf.d/googleassistant.conf
Modify the fields:
GOOGLEAI_DEVICE_MODEL : Input the device model ID registered in Registering the Device Model.GOOGLEAI_DEVICE_ID : Input the device instance string registered in Register the Device ID.Reboot the device or restart the service daemon:
$ reboot
OR,
$ systemctl restart ai
You can check if the settings are correct by using com.webos.service.ai.voice API.
/sysroot/home/root# luna-send -n 1 -f luna://com.webos.service.ai.voice/start '{"mode": "continuous", "keywordDetect": true}'
{
  "returnValue": true
}
root@raspberrypi4:/sysroot/home/root# luna-send -i -f luna://com.webos.service.ai.voice/getState '{"subscribe": true}'
{
    "state": "waitActivation",
    "subscribed": true,
    "returnValue": true
}
This action changes the state of com.webos.service.ai.voice API. If the state comes back to “waitActivation”, your Google Assistant API is set successfully.
{
    "state": "recording"
}
{
    "state": "answering"
}
{
    "state": "thinking"
}
{
    "state": "answering"
}
{
    "state": "waitActivation"   <-- Success!
}
Contents