A built-in native app is a native app that is installed with the webOS OSE platform at build time.
Downloadable vs. Built-In
In webOS OSE, apps and services can be classified into two types based on how they are installed on the target device.
Downloadable apps/services are installed by the appinstalld service. The appinstalld service creates webOS configurations based on files created by developers. (such as trust level) Developers can modify only certain parts of the app/service settings.
Built-in apps/services are built and installed by developers. Developers can customize app/service’s configurations to suit their needs.
This tutorial shows a step-by-step guide for creating a built-in native app from scratch.
Note In this section, there are a lot of contents about modifying recipe files. For more about the recipe files, refer to the Yocto Project Reference Manual.
Note You don’t need to go to the Step 03. Installing the App. You’ve already installed the app on the webOS OSE platform.
Step 03. Installing the App
This step describes how to install the .ipk file you’ve built in App Alone.
Copy the .ipk file to the target device.
scp <PATH TO IPK FILE> root@<TARGET DEVICE IP ADDRESS>:/media/internal/downloads/
Connect to the target device.
ssh root@<TARGET DEVICE IP ADDRESS>
Move into the /media/internal/downloads/ directory and install the .ipk file.
root@raspberrypi4-64:~# cd /media/internal/downloads/
root@raspberrypi4-64:/media/internal/downloads# opkg install com.example.app.nativeqt_1.0.0-r0.local0_raspberrypi4_64.ipk
Installing com.example.app.nativeqt (1.0.0) on root.
Configuring com.example.app.nativeqt.
No image conversions needed for com.example.app.nativeqt
Reboot the device.
reboot -f
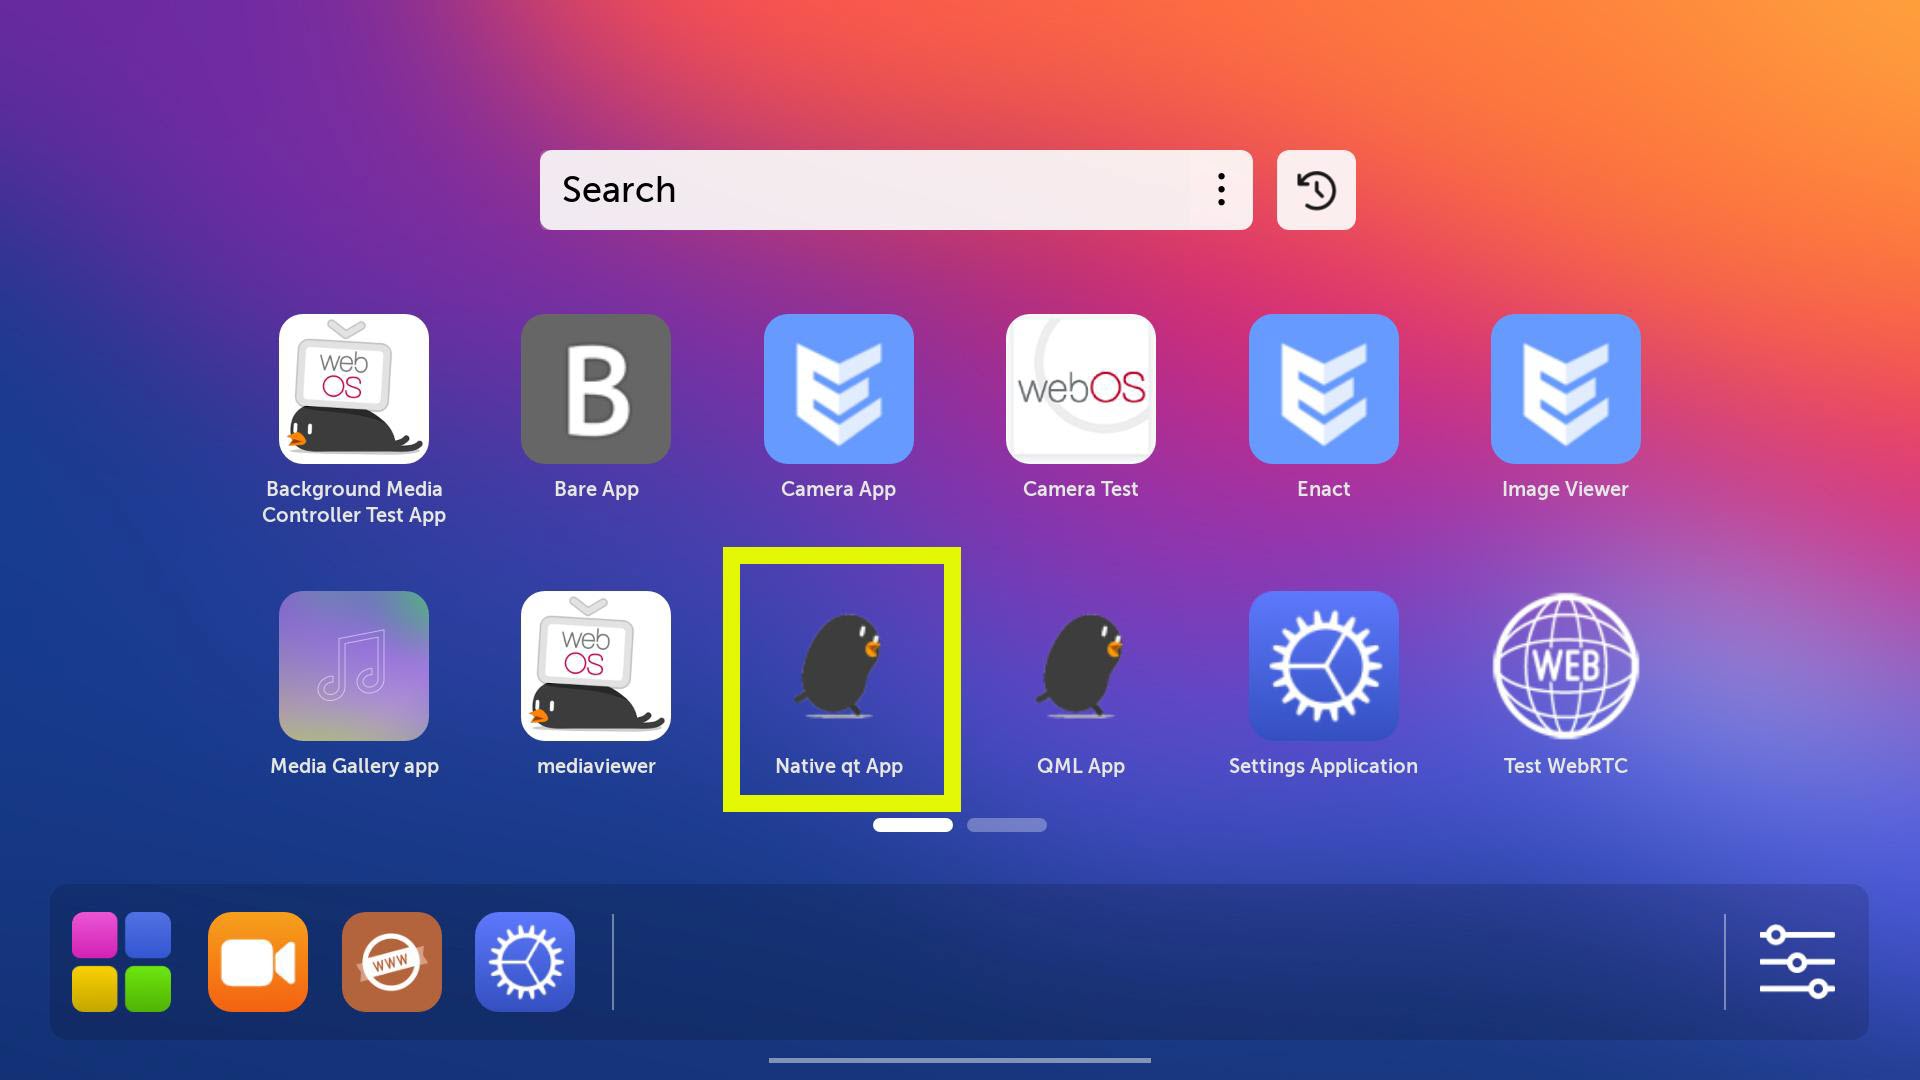
After rebooting the device, you can see the app icon in the Launchpad.
Appendix. Code Explanation
This section briefly explains the sample codes used in this tutorial.
Line (2): The section where packages should be categorized.
Line (3~4): License information for the app.
Line (6): The version of the component. Every webOS component must contain this.
Line (7): The revision of the recipe. Unless you’re changing the WEBOS_VERSION or just adding a comment, you should increment this value each time you modify the recipe.
Line (9): A list of build-time dependencies.
Line (11~14): Inherits other classes.
Line (11): Inherits webos_submissions to check the version information set correctly. This field is required if you develop your component on a local repository.
Line (12): Sets QMake for configuration.
Line (13): For apps, this field is required.
Line (18): Defines files included in the package. ${webos_applicationsdir} indicates /usr/palm/applications. ${PN} is the package name (com.example.app.nativeqt).
webos-local.conf
1
2
3
4
INHERIT += "externalsrc"
EXTERNALSRC:pn-<APP ID> = "<PATH TO THE APP DIRECTORY>/"
EXTERNALSRC_BUILD:pn-<APP ID> = "<PATH TO THE APP DIRECTORY>/build/"
PR:append:pn-<APP ID> =".local0"
A brief explanation of the above file:
Line (1): Inherits the externalsrc.bbclass file.
Line (2): Specifies the path to the app directory.
<APP ID>: The app ID specified in the appinfo.json file.
<PATH TO THE APP DIRECTORY>: The root directory of the app where the appinfo.json file is located. You must use the absolute path.
Line (3): Specifies the build directory. The build directory is located under the app directory.
Line (4): The revision for local source builds. This line is optional.
This file defines the application name and the qmake template to be used for generating the project, as well as the source, header, and UI files included in the project.
TARGET=nativeqt
CONFIG+=qt
QT+=coregui-private
# if you use QT 6.x , you should include opengl. because opengl is not included by default.
# but if you use QT 5.x under, opengl is included by default so you do not include opengl.
greaterThan(QT_MAJOR_VERSION,5) {
QT+=opengl
}
CONFIG+=link_pkgconfig
PKGCONFIG+=luna-service2glib-2.0pbnjson_cppPmLogLib
SOURCES+=ServiceRequest.cppMyOpenGLWindow.cppmain.cpp
HEADERS+=ServiceRequest.hMyOpenGLWindow.h
INSTALL_APPDIR=$${WEBOS_INSTALL_WEBOS_APPLICATIONSDIR}/com.example.app.nativeqt
target.path=$${INSTALL_APPDIR}
icon.path=$${INSTALL_APPDIR}
icon.files=icon.png
appinfo.path=$${INSTALL_APPDIR}
appinfo.files=appinfo.json
INSTALLS+=targeticonappinfo
A brief explanation of the above file:
Line (1): Sets TARGET name. It must be an executable file name of the app.
Line (3): The CONFIG variable is a special variable that ‘qmake’ uses when generating a Makefile. qt is added to the list of existing values contained in CONFIG.
Line (4): Links against the QtCore Module. Add gui-private to use private GUI include directories.
Line (15): A list of filenames of header (.h) files used when building the project.
Line (17): Sets installed directory on the target board. INSTALL_APPDIR would be /usr/palm/applications/com.example.app.nativeqt on the target.
Line (19~25): *.files specifies a path in project directory and *.path specifies the path to the file system to be installed on the target.
Line (27): Adds targets, icons, and appinfo files from the INSTALLS list.
Line (1): Includes MyOpenGLWindow.h header file which has OpenGLSurface type window class.
Line (2): Includes ServiceRequest.h header file which has member functions that can call services based on luna-service2.
Line (3~6): Includes Qt header files.
Line (11): argv[1] holds the value that SAM gives to the native app when the app is first launched. The value passed as “params” in SAM’s launch method call can be received as “parameters”, and the lifecycle “event” of the native app comes up as “launch”.
Line (13~14): Gets the DISPLAY_ID property from the environment variable so that the app can be launched on the display corresponding to the displayAffinity value passed as a launch parameter.
Line (16~20): Creates a MyOpenGLWindow object. Set the window’s size and display the text on the screen.
Line (22~23): Creates a ServiceRequest object and call the registerApp() function.
Line (25~26): Uses QWindow::Handle() to get QPlatformWindow from MyOpenGLWindow. Set appId and displayAffinity to the window.
Line (28): Enters the main event loop and waits until exit() is called, then returns the value that was set to exit(): 0 if exit() is called via quit().
This file provides overall information about the app.
Caution
If the README.md file is missing, a build error occurs.
Make sure the ‘Summary’ section is a single line. Even any whitespace at the line above the ‘Description’ section is considered a part of the summary and can cause the build to fail.
Summary
-------
native app sample

Description
-----------

native app sample

How to Build on Linux
---------------------

## Dependencies

Below are the tools and libraries (and their minimum versions) required to build sample program:

* qmake

## Building

    $ cd build-webos
    $ source oe-init-build-env
    $ bitbake com.example.app.nativeqt

Copyright and License Information
=================================
Unless otherwise specified, all content, including all source code files and
documentation files in this repository are:

Copyright (c) 2020 LG Electronics, Inc.

Licensed under the Apache License, Version 2.0 (the "License");
you may not use this file except in compliance with the License.
You may obtain a copy of the License at

http://www.apache.org/licenses/LICENSE-2.0

Unless required by applicable law or agreed to in writing, software
distributed under the License is distributed on an "AS IS" BASIS,
WITHOUT WARRANTIES OR CONDITIONS OF ANY KIND, either express or implied.
See the License for the specific language governing permissions and
limitations under the License.

SPDX-License-Identifier: Apache-2.0
ServiceRequest.cpp
Define ServiceRequest class member functions. In addition, add helper functions related to PbnJson to use the library conveniently.
Line (3~18): Creates pbnjson utility functions, which convert String to Json and Json to String based on pbnjson library. pbnjson is a JSON engine, implemented as a pair of libraries with APIs for easier C and C++ abstraction.
Line (20~38): Defines constructor and destructor of ServiceRequest class.
Line (40~69): Defines functions to register and unregister com.example.app.nativeqt to and from luna-service.
Line (71~112): Implements the callback function of registerApp.
Line (82~85): When the app first calls the method, the value of event in response is “registered”.
Line (86~100): When the app is already running and SAM’s launch method is called, the value of event comes up as “relaunch”.
Line (89~92): Calls the showFullScreen function to change the app’s state from background to foreground.
Line (94~99): If the user gives a parameter of params when calling launch, the app can get the value of params with the property “parameters” in response.
Line (101~104): When the app is closed by SAM’s closeByAppId method, the value of event comes up as “close”.
Line (114~135): Calls the registerApp method of SAM.
ServiceRequest.h
Define a class that can register to luna-service2 and call registerApp method of System and Application Manager (SAM). This header file has the function declaration.